



Quarter-by-Quarter
| Team | Q1 | Q2 | Q3 | Q4 | Final |
|---|---|---|---|---|---|
| Carlton | 3.0 18 | 6.6 42 | 8.14 62 | 11.16 82 | 82 |
| West Coast | 2.6 18 | 5.10 40 | 9.12 66 | 15.16 106 | 106 |
Match Report
Umpires: D.Goldspink & H.Kennedy
Goalkickers: S.Silvagni 8, F.Brown 1, T.Alvin 1, R.De Iulio 1.
Best: S.Silvagni, F.Brown, E.Spalding, B.Ratten, C.Bradley, J.Dorotich.
Reports: Nil.
Injuries: Nil.
Game Review
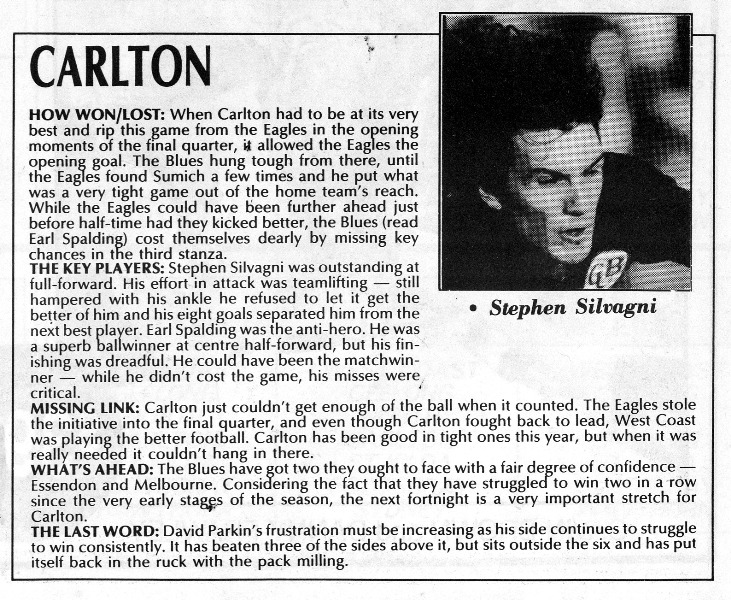
For the second time during this season Stephen Silvagni scored 8 goals in this game, but he would only play in two of the next 10 matches. Fraser Brown was superb with 31 disposals, whilst Earl Spalding had a severe case of the kicking yips in front goal, finishing with five behinds (four of them in a row in the 3rd quarter in front of the Heatley stand) despite being one of the Blues' better players on the day. These misses all happened whilst we had a handy 15 point lead!!

Team
B: | 33 Matthew Hogg | 14 Michael Sexton | 35 Peter Dean |
HB: | 22 Ian Aitken | 6 Jon Dorotich | 13 Mil Hanna |
C: | 20 Fraser Brown | 2 Greg Williams | 9 Brett Sholl |
HF: | 45 Darren Tarczon | 11 Earl Spalding | 34 Ron De Iulio |
F: | 1 Stephen Silvagni | 4 Stephen Kernahan (c) | 7 Brett Ratten |
Ruck: | 40 Andrew Cavedon | 31 Tom Alvin | 21 Craig Bradley (vc) |
Interchange: | 27 Luke O'Sullivan | 30 Paul McCormack | |
Coach: | David Parkin | ||
Emergencies : 16 Chris Bond 18 Brendan Parker 38 Rohan Welsh
Milestones
Last game: Darren Tarczon played his 11th and last game for Carlton
Player Statistics

Carlton
| # | Player | KI | HB | DI | MK | GL | BH | GA | IF | MI | UP | BO | TK | RB | 1% | FF | FA | CP | CM | CL | CG | HO | BR | %P |
|---|---|---|---|---|---|---|---|---|---|---|---|---|---|---|---|---|---|---|---|---|---|---|---|---|
| 1 |  Stephen Silvagni | 11 | 4 | 15 | 7 | 8 | 2 | - | - | - | - | - | 1 | - | - | 3 | 2 | - | - | - | - | - | 2 | - |
| 2 |  Greg Williams | 12 | 13 | 25 | 4 | - | - | - | - | - | - | - | 2 | - | - | - | 2 | - | - | - | - | - | - | - |
| 4 |  Stephen Kernahan | 10 | 1 | 11 | 5 | - | - | - | - | - | - | - | 1 | - | - | - | - | - | - | - | - | 12 | - | - |
| 6 |  Jon Dorotich | 12 | 3 | 15 | 4 | - | - | - | - | - | - | - | 1 | - | - | 1 | - | - | - | - | - | - | - | - |
| 7 |  Brett Ratten | 18 | 5 | 23 | - | - | - | - | - | - | - | - | 2 | - | - | 1 | - | - | - | - | - | - | - | - |
| 9 |  Brett Sholl | 9 | 4 | 13 | 2 | - | - | - | - | - | - | - | 2 | - | - | - | - | - | - | - | - | - | - | - |
| 11 |  Earl Spalding | 16 | 10 | 26 | 5 | - | 5 | - | - | - | - | - | - | - | - | 5 | 2 | - | - | - | - | 2 | - | - |
| 13 |  Mil Hanna | 11 | 5 | 16 | 3 | - | - | - | - | - | - | - | 1 | - | - | 1 | 2 | - | - | - | - | - | - | - |
| 14 |  Michael Sexton | 7 | 2 | 9 | 2 | - | - | - | - | - | - | - | - | - | - | - | 1 | - | - | - | - | - | - | - |
| 20 |  Fraser Brown | 16 | 15 | 31 | 5 | 1 | - | - | - | - | - | - | 1 | - | - | 1 | 2 | - | - | - | - | - | 1 | - |
| 21 |  Craig Bradley | 14 | 13 | 27 | 3 | - | 1 | - | - | - | - | - | - | - | - | 3 | 1 | - | - | - | - | - | - | - |
| 22 |  Ian Aitken | 3 | 7 | 10 | 1 | - | - | - | - | - | - | - | - | - | - | 1 | 1 | - | - | - | - | 1 | - | - |
| 27 |  Luke OSullivan | 11 | 7 | 18 | 3 | - | 2 | - | - | - | - | - | - | - | - | 2 | 2 | - | - | - | - | - | - | - |
| 30 |  Paul McCormack | 1 | 1 | 2 | 1 | - | - | - | - | - | - | - | - | - | - | - | - | - | - | - | - | - | - | - |
| 31 |  Tom Alvin | 11 | 5 | 16 | 4 | 1 | - | - | - | - | - | - | 1 | - | - | 2 | 2 | - | - | - | - | - | - | - |
| 33 |  Matthew Hogg | 7 | 1 | 8 | 2 | - | - | - | - | - | - | - | 3 | - | - | 5 | 1 | - | - | - | - | - | - | - |
| 34 |  Ron De Iulio | 11 | 1 | 12 | - | 1 | 3 | - | - | - | - | - | - | - | - | - | 2 | - | - | - | - | - | - | - |
| 35 |  Peter Dean | 4 | - | 4 | 2 | - | - | - | - | - | - | - | 1 | - | - | 3 | - | - | - | - | - | - | - | - |
| 40 |  Andrew Cavedon | 8 | 3 | 11 | 5 | - | - | - | - | - | - | - | 2 | - | - | 1 | 1 | - | - | - | - | 14 | - | - |
| 45 |  Darren Tarczon | 3 | - | 3 | 1 | - | - | - | - | - | - | - | - | - | - | - | 1 | - | - | - | - | - | - | - |
| Team Total | 195 | 100 | 295 | 59 | 11 | 13 | - | - | - | - | - | 18 | - | - | 29 | 22 | - | - | - | - | 29 | 3 | - | |
| Team Average | 9.8 | 5.0 | 14.8 | 3.0 | 0.6 | 0.7 | - | - | - | - | - | 0.9 | - | - | 1.4 | 1.1 | - | - | - | - | 1.4 | 0.1 | - | |
Photos from Carlton vs West Coast
Last updated by Jamie Sanderson ·