



Quarter-by-Quarter
| Team | Q1 | Q2 | Q3 | Q4 | Final |
|---|---|---|---|---|---|
| Carlton | 1.2 8 | 2.4 16 | 2.11 23 | 3.11 29 | 29 |
| Fitzroy | 1.2 8 | 4.2 26 | 4.2 26 | 5.8 38 | 38 |
Match Report
Umpire: Beaumont
Reports: Injuries: R.Hiskins (concussion)
Game Review
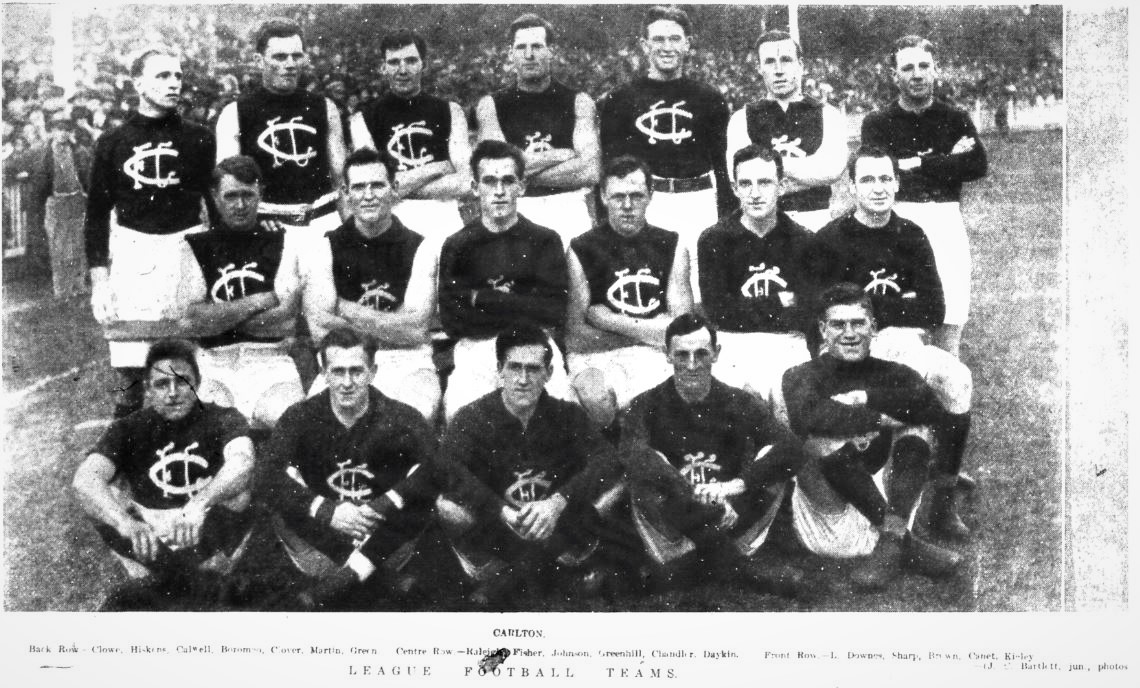
The Roys were first out on the ground and had had their team photo taken before the 3pm. start time. Carlton then made an appearance and then had their photo taken. (99 years and 5 months later this team photo has been found!).
A strong northerly wind was blowing slightly favouring the Sydney Road/Royal Parade end of the ground. Fitzroy kicked with the advantage of the wind.
To be completed See sporting edition in Trove.
In a game where they had more scoring shots, the Blues went down to the Maroons by 9 points.
Next Friday's Herald reports that Rupe Hiskins could remember playing the second half.
At the end of this round Carlton were in 6th spot on the ladder with a percentage of 94.9.
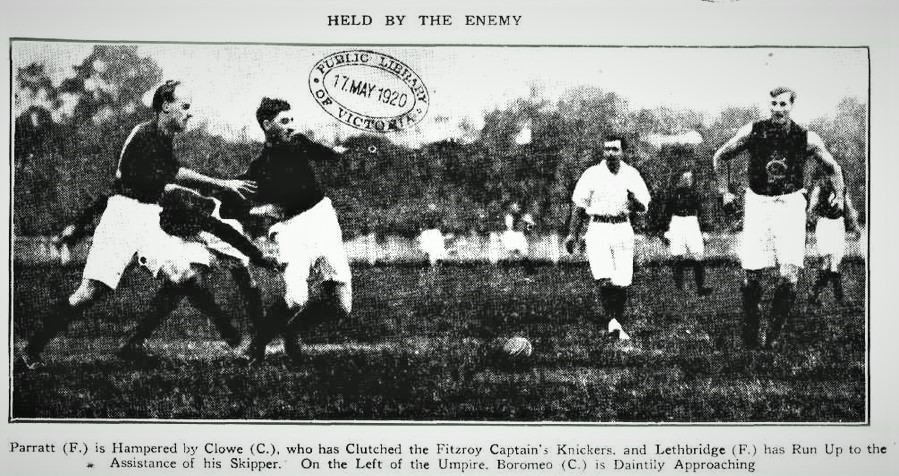
Image: Trove; Herald sporting edition May 15 p1
The ill fated Lyle Downs (front row, far left) looks to be wearing either a cut off long sleeve jumper or a navy blue T shirt under his sleeveless guernsey.
Lyle's short life would be over in less than two months.
Image: SLV; Leader May 22
Team
| B: | 19 Fred Johnson | 4 Mort Keily | 14 Clarrie Clowe |
| HB: | 5 Rupe Hiskins | 29 Jack Greenhill | 9 Ted Brown |
| C: | 12 Charlie Canet (vc) | 18 Wally Raleigh | 8 Newton Chandler |
| HF: | 7 Charlie Fisher (c) | 1 Horrie Clover | 17 Clarrie Calwell |
| F: | 2 Percy Daykin | 16 Gordon Green | 20 Athol Sharp |
| Ruck: | 27 Bert Boromeo | 25 Frank Martin | 28 Lyle Downs |
| Coach: | Norman Clark | ||
Milestones
Debut: Clarrie Calwell
Debut (Carlton): Wally Raleigh
Player Statistics

Carlton
| # | Player | KI | HB | DI | MK | GL | BH | GA | IF | MI | UP | BO | TK | RB | 1% | FF | FA | CP | CM | CL | CG | HO | BR | %P |
|---|---|---|---|---|---|---|---|---|---|---|---|---|---|---|---|---|---|---|---|---|---|---|---|---|
| 2 |  Percy Daykin | - | - | - | - | 1 | - | - | - | - | - | - | - | - | - | - | - | - | - | - | - | - | - | - |
| 16 |  Gordon Green | - | - | - | - | 1 | - | - | - | - | - | - | - | - | - | - | - | - | - | - | - | - | - | - |
| 20 |  Athol Sharp | - | - | - | - | 1 | - | - | - | - | - | - | - | - | - | - | - | - | - | - | - | - | - | - |
| Team Total | - | - | - | - | 3 | - | - | - | - | - | - | - | - | - | - | - | - | - | - | - | - | - | - | |
| Team Average | - | - | - | - | 1.0 | - | - | - | - | - | - | - | - | - | - | - | - | - | - | - | - | - | - | |
Last updated by Jamie Sanderson ·